Final Image
This is the final image that we’ll be creating.
Step 1
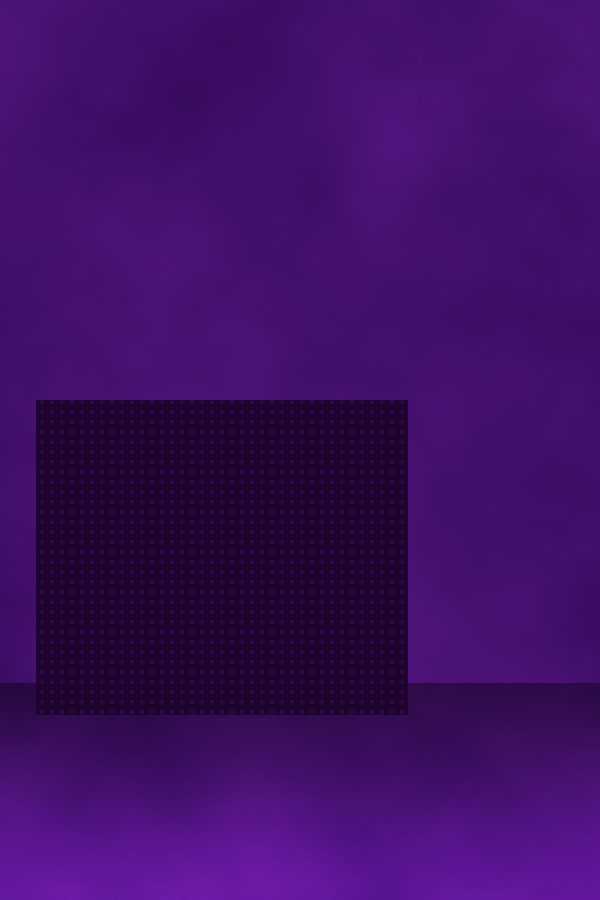
Open up a new document 600X900px and fill it with 53157F.
Step 2
Create a new layer called ‘clouds’ and then go to filter>render>clouds. Then set your layer blend mode to ‘multiply’ and reduce it’s opacity to 50%.
Step 3
Now create a new layer called ‘bg gradient’. Create a rectangular selection at the bottom of your image and fill it with a black to white linear gradient. Then set the layer blend mode to ‘overlay’ and reduce it’s opacity to 40%.
Step 4
Now create a new layer called ‘box side’. Create a rectangular selection and fill it with 1C042D.
Step 5
Now create a new document (10X10px) and create a new layer called ‘circle’. Then use your circular marquee tool to create a white circle in the top right of your canvas (roughly 4X4px). Then hide your ‘background’ layer and go to edit>define pattern. Name your pattern ‘circle pattern’. Then return your your original document and apply a pattern overlay (using the settings shown below) to your ‘box side’ layer.

Step 6
Now create a blank layer beneath your ‘box side’ layer. Then merge your ‘box side’ layer down. This is to rasterize your pattern overlay, allowing you to distort your box side shape and the pattern. Then go to edit>distort and distort your box side to look like the image below:
Step 7
Then duplicate your box side layer and go to edit>transform>flip horizontal. Then move it to make up a cube shape. Then reduce the width of this duplicate shape, as well as reducing it’s brightness to -10.
Step 8
Now type out some text to fit over your cube shape.
Step 9
Then go to layer>rasterize>layer to rasterize your type. Then duplicate your text layer and hide the original. With your visible text layer selected go to edit>transform>distort and distort it to fit the side of your cube. Then make your invisible text layer visible and distort it to fit the other side of the cube.
Step 10
Now hide both text layers and go to edit>define pattern. Define your pattern as ‘text dots’. Then apply a pattern overlay to your text layers using the settings below. You may need to play around with the ‘scale’ amount until it looks good. Also be sure to make the ‘fill’ of your text layers have a 0% opacity.

Step 11
Now duplicate the layer containing the text on the left edge of your cube. On the bottom layer apply a 10px strength motion blur.
Step 12
Now hide all layers apart from the layers containing the shapes/text of the left side of your cube. Then go to layer>merge visible. Duplicate your merged layer, and then select the bottom layer and go to edit>transform>flip vertical. Then go to edit>transform>distort and distort your reflected cube side until it looks like the image below. Be sure to reduce the layer opacity to 30%.
Step 13
Repeat this technique on the right side of the cube.
Step 14
Now paste in a photo of a woman behind your cube shape.
Step 15
Now go to image>adjustments>desaturate to grayscale the woman’s photo. Then apply a color overlay and outer glow using the settings shown below:


Step 16
Now create a new layer above your woman layer but below your cube layer. Create an oval shape, and then fill it with a dark-medium purple gradient. Then use your circular marquee selection tool to delete part of your oval shape – leaving a kind of arch. Then go to edit>transform>rotate to fit this arch shape across the woman’s body. Finally, duplicate this layer and go to edit>transform>flip horizontal. Then use your lasso selection tool to delete parts of the arch that overlap the woman’s arms – so that it appears to weave around her limbs.
Step 17
Now apply the drop shadow settings shown below to the two arch shape layers. To apply the exact same settings to both layers right click on the layer style once applied to your first layer and click on ‘copy layer style’. Then right click on your second arch layer in your layer’s palette and click ‘paste layer style’.

Step 18
Now apply Photoshop custom shapes to your image, using basic white shapes at 10% opacity. Try to apply them fairly randomly around the edges of your woman.
Step 19
Now create a new layer beneath your custom shape layers called ‘brushes’. Then select a watercolor brush set such as this one and apply some very bright, large brush strokes to liven up your image.
Step 20
Now create a new layer called ‘circles’ below your watercolor brush layer. Create a circular selection using your marquee tool, and fill it with black, using a 10% opacity paintbrush. Then go to select>modify>contract and contract by 20px. Repeat this step several times to achieve something like the effect below:
Step 21
Now create some music note shapes using Photoshop custom shapes. Then use your lasso tool to cut off the top bar of the notes and then stretch the notes upwards to the top of your canvas.
And We’re Done!

I hope that you enjoyed this tutorial and like the outcome. As always I’d appreciate seeing your efforts and hearing your opinions!
Download Artikel Klik Gambar
